📂 React Native Project Structure (2025)
After installing React Native and running your first app, the next step is to understand the project structure. Knowing where files live, what they do, and how React Native organizes code will save you hours of confusion as your project grows.
✅ Default Project Structure
When you run npx react-native init MyFirstApp, you get a folder layout like this:

MyFirstApp/
│
├── android/         # Native Android code (Gradle, Java/Kotlin)
├── ios/             # Native iOS code (Xcode, Swift/Obj-C)
├── node_modules/    # Installed npm dependencies
├── index.js         # Entry point of the app
├── App.js           # Main React component (your app starts here)
├── package.json     # Project metadata + dependencies
├── app.json         # Basic app configuration
├── babel.config.js  # Babel compiler configuration
└── metro.config.js  # Metro bundler configuration (optional)
Let’s go through each of these step by step 👇
📌 android/ Folder
- Contains everything needed to run your app on Android.
- Uses
Gradlefor builds, and code can be written in Java or Kotlin. - You usually don’t touch this folder unless:
- You’re integrating custom native modules.
- You want to tweak Android-specific settings (permissions, splash screens, signing).
📌 ios/ Folder
- Contains all native iOS code, managed via
Xcode. - Code can be written in Swift or Objective-C.
- You use this folder when:
- Adding custom native iOS code.
- Modifying app icons, launch screens, or permissions (Info.plist).
📌 App.js
This is the heart of your React Native app. All your React components eventually connect here.
import React from "react";
import { Text, View } from "react-native";

export default function App() {
  return (

      Hello, React Native 🚀

  );
}
📌 index.js
Acts as the entry point. It tells React Native which component to start with.
import { AppRegistry } from 'react-native';
import App from './App';
import { name as appName } from './app.json';

AppRegistry.registerComponent(appName, () => App);
📌 package.json
Defines project metadata, dependencies, and useful scripts.
{
  "name": "MyFirstApp",
  "version": "0.0.1",
  "scripts": {
    "start": "react-native start",
    "android": "react-native run-android",
    "ios": "react-native run-ios"
  },
  "dependencies": {
    "react": "18.x",
    "react-native": "0.79.x"
  }
}
📌 app.json
Basic config file that defines the app’s name and displayName.
{
  "name": "MyFirstApp",
  "displayName": "My First App"
}
📌 babel.config.js
Controls how modern JavaScript is compiled into code React Native can understand.
📌 metro.config.js
Configuration for Metro (the JavaScript bundler used by React Native). Useful when you need to add support for images, custom fonts, or file types.
🔄 React Native CLI vs Expo Project Structure
If you use Expo instead of React Native CLI, the structure is simpler:
MyExpoApp/
├── App.js
├── package.json
├── app.json
└── node_modules/
No android/ or ios/ folders — Expo manages native code for you.
💡 Best Practices for Organizing Code
- Create a
src/folder for your actual code. - Inside
src/, create:components/→ Reusable UI piecesscreens/→ Full-screen pagesassets/→ Images, fonts, iconsutils/→ Helper functions
📋 Summary Table
| Folder/File | Purpose |
|---|---|
android/ |
Native Android code (Gradle, Java, Kotlin) |
ios/ |
Native iOS code (Xcode, Swift, Objective-C) |
App.js |
Main React component, app UI starts here |
index.js |
Entry point (registers the root component) |
package.json |
Dependencies, scripts, metadata |
app.json |
Basic app configuration |
babel.config.js |
Transpiler configuration |
metro.config.js |
Bundler configuration |
🚀 Conclusion
By understanding the React Native project structure, you’ll be more confident in navigating and scaling your app. In the next step, we’ll dive into Core Components and Styling — the building blocks of every React Native application.
Related Blog
React Native Project Structure: Understand the project structure
Understand the React Native project structure. How React Native organizes code.
Read More
React Native in 2025: A Strategic Deep Dive into its Evolving Landscape
A Strategic Deep Dive into its Evolving Landscape and Market Leadership.
Read More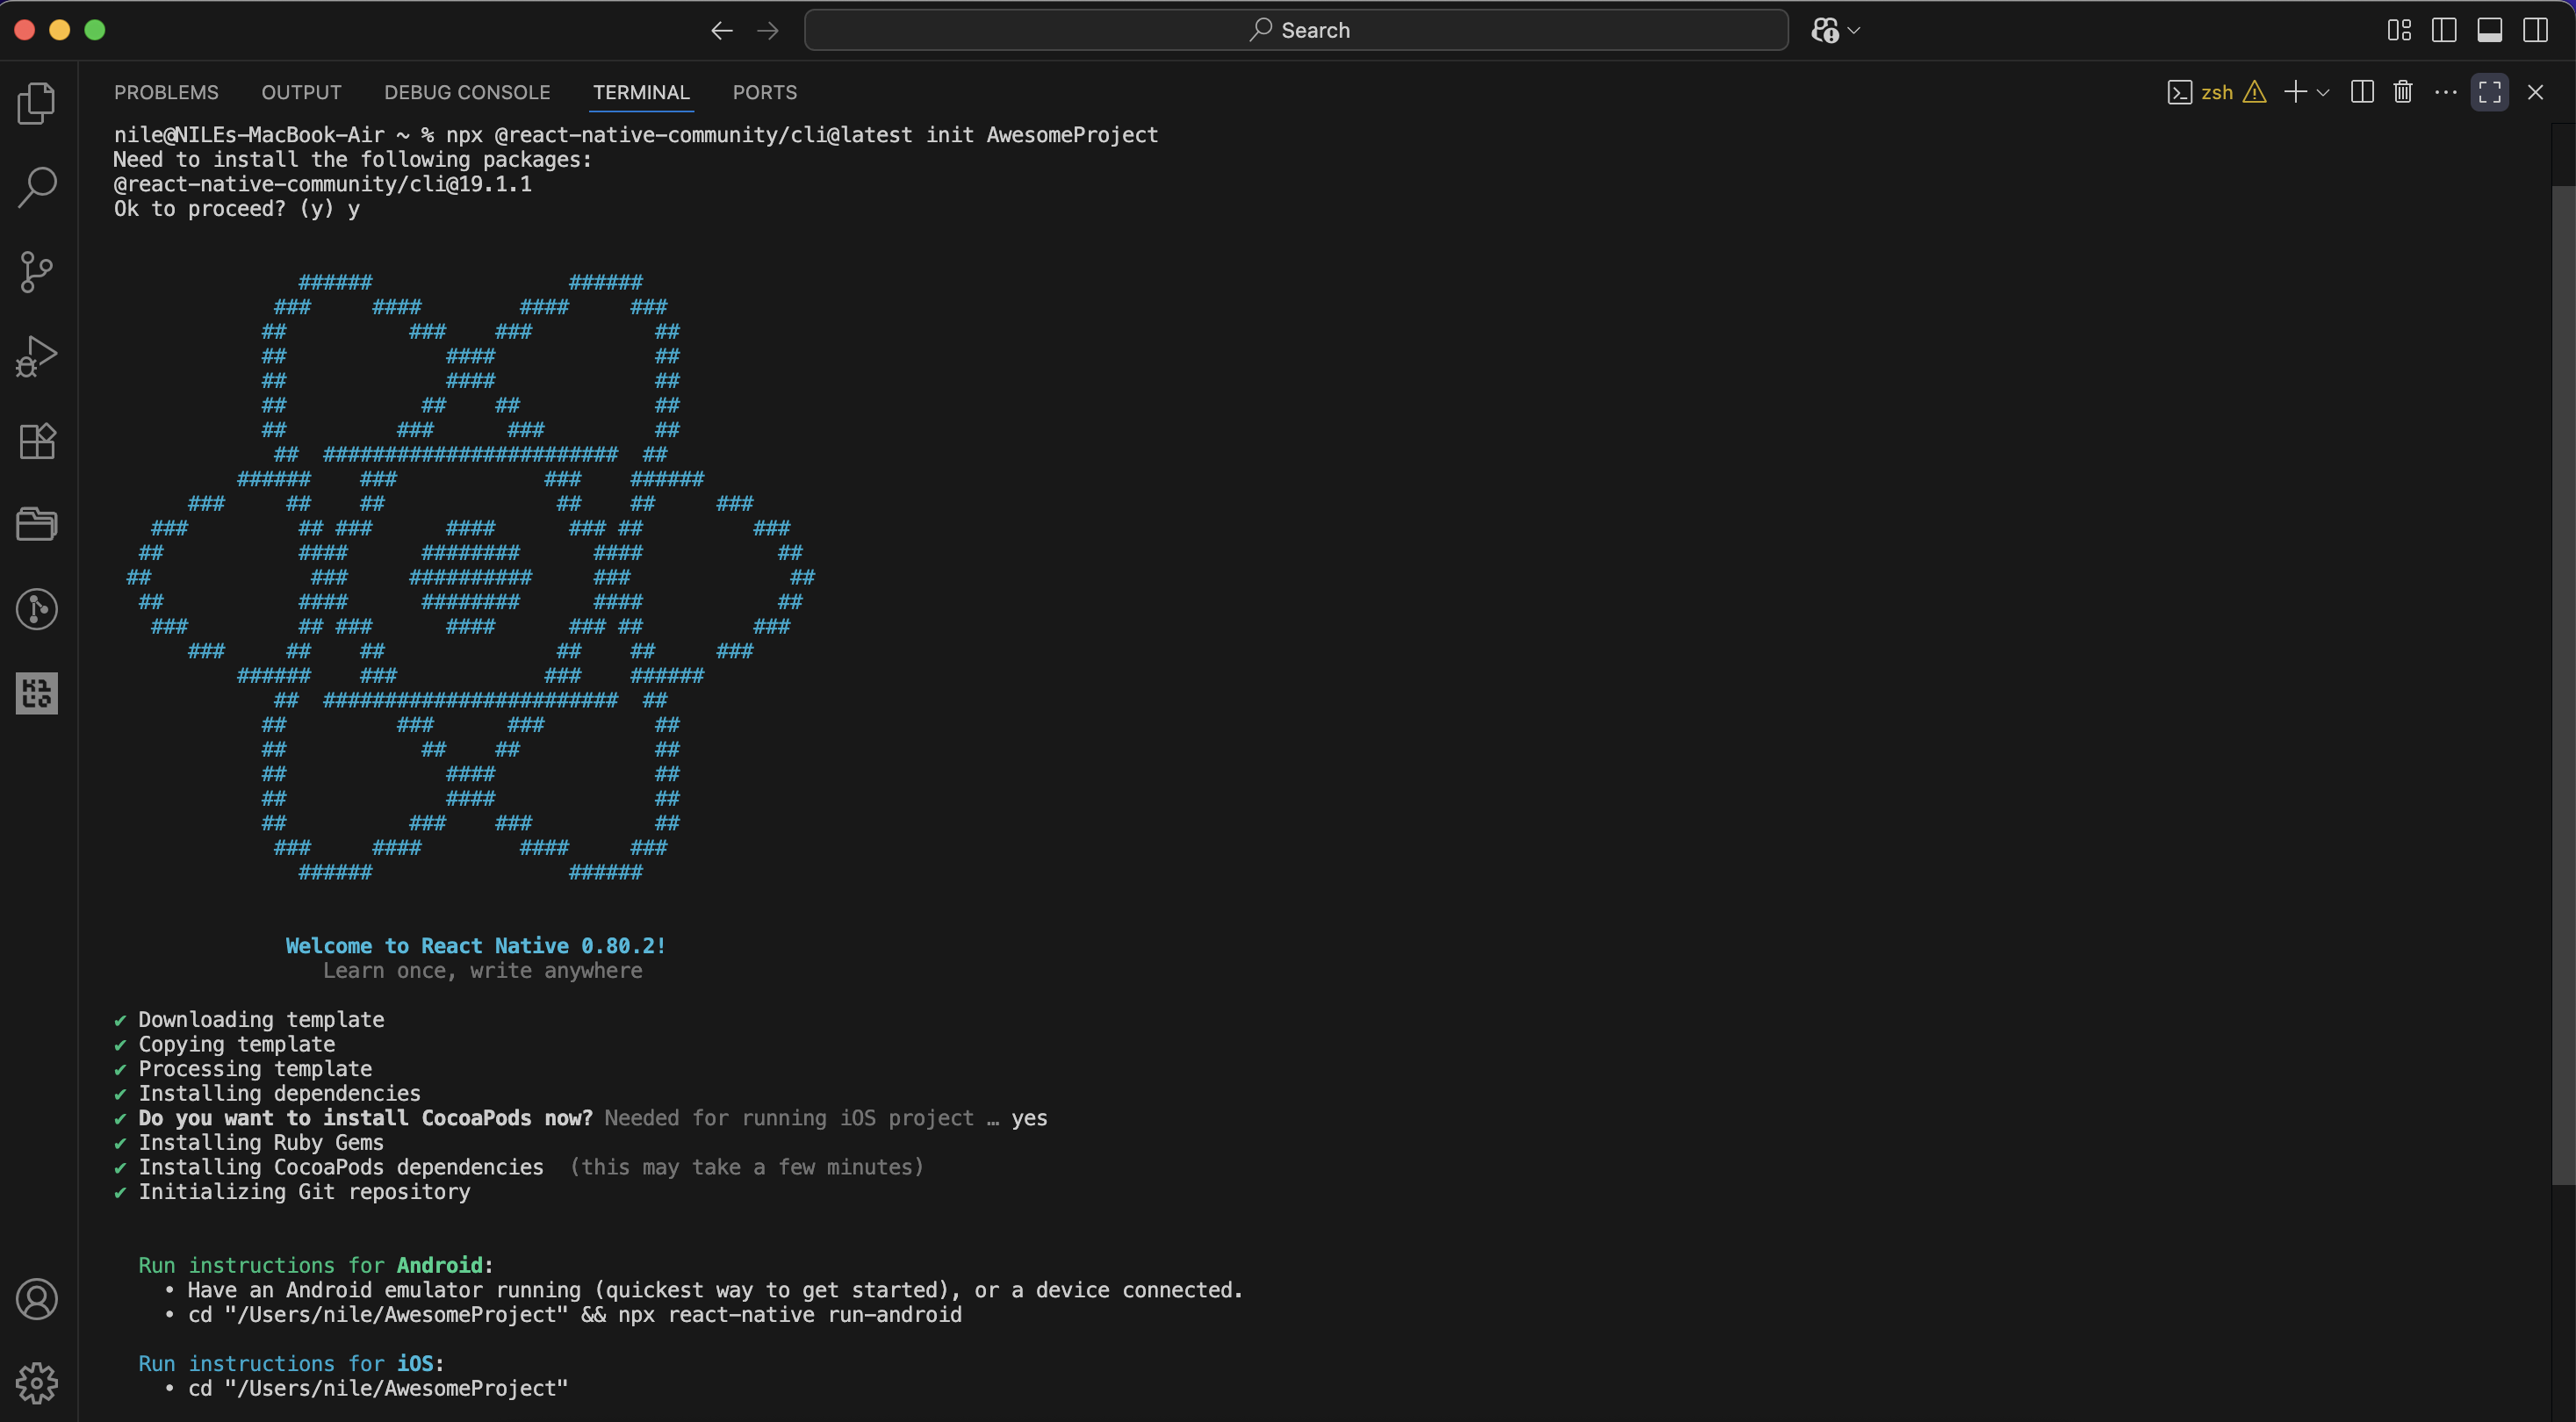
React Native Installation Guide
Completed the React Native setup. Start coding and building your mobile app!
Read More